4. Contributing
In this section of the tutorial, we will discuss how to contribute to a project being worked on by a large team. This will review Issues, Pull Requests, and other tools on Github to help organize large collaborative codebases.
Issues
Issues are powerful tools for documenting bugs, problems, and feature requests. They are especially useful because they remain with the repository and can be easily searched in the future. It is not a replacement for documentation, but useful anyways.
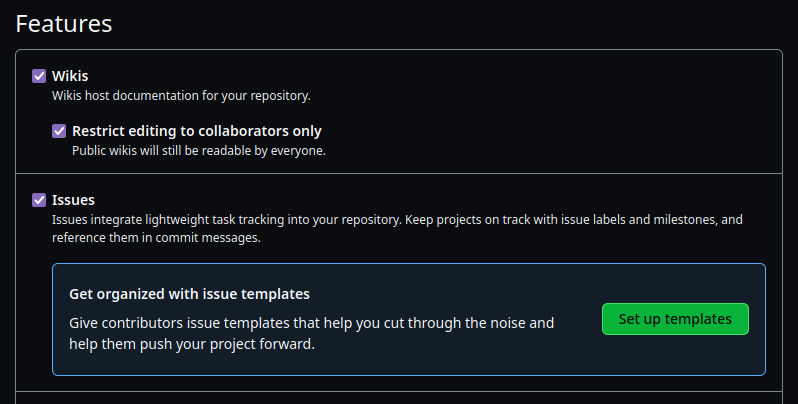
To enable issues on our fork, go to “Settings” and then scroll down to “Features” and check the box next to “Issues.”

A screenshot of settings to enable issues.
Here, you can setup Issues Templates to ensure that users who file issues will provide you with the information you need to address their concerns! Issues that just say “it’s broke” aren’t very helpful, so we can adapt our templates to ask for the necessary information (e.g. software version, platform).
Create an issue on your repo (this will be used in the next step).
Labeling and Sorting Issues
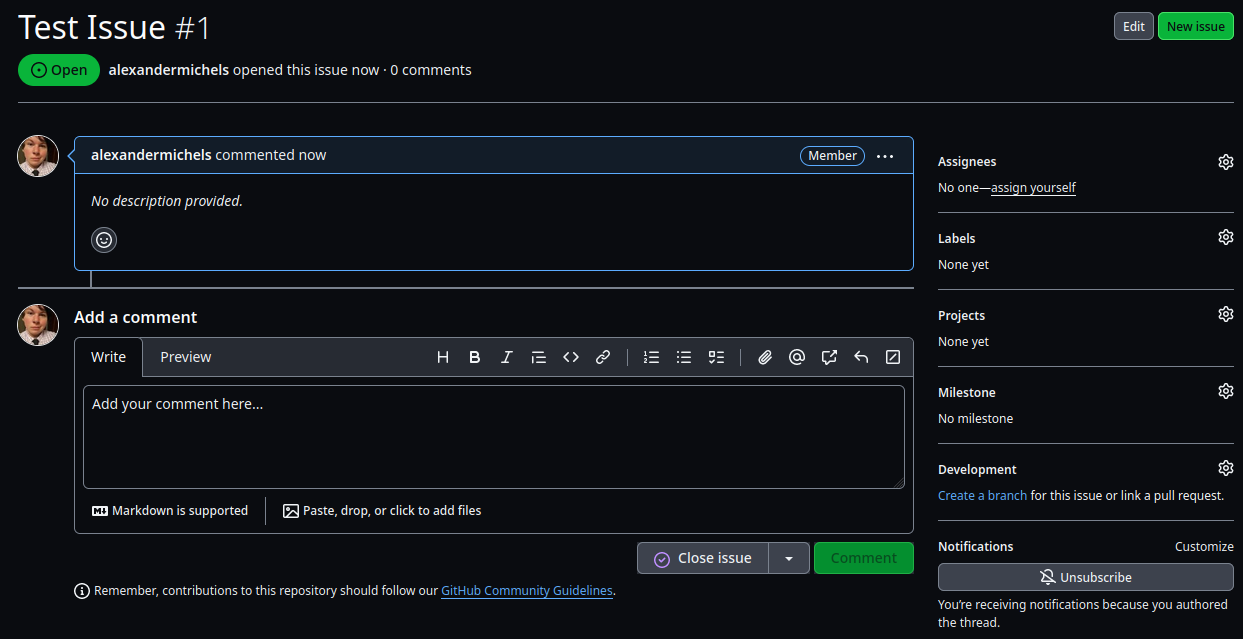
When there are issues on your repository, you can use the options to the right to help organize and tackle them.
Assignees: You can notify a member of your team to have them tackle the issue.
Labels: You can categorize and label your issues for easy sorting/searching.
Projects: You can check out the projects tab of Github to organize your work in Projects/Kanban boards!
Milestones: You can assign issues/PRs to milestones to keep your releases/priorities straight!

An example Issue.
Pull Requests
Pull requests (PR) are a way of submitting code a repository indirectly. They are extremely useful for a variety of reasons:
It allows people to contribute without having write access to the repo.
It allows multiple contributors to work on their own portion of the codebase without constantly having to fetch/resolve conflicts (although it needs to be done before merging).
It allows us to run our workflows (like from the last section) automatically before merging!
The review mechanism (we will see it next).
Generally, to create a PR, every member will have their own fork of the repo with a branch for their changes (or will create their own forks on the repo with their changes). When the changes are ready to be reviewed, you can open a PR on the Github interface!
For the repository you forked, click on “Contribute” in the top-left and click “Open Pull Request” then “Create pull request” to see what the interface looks like. You do not need to actually make a PR, but you can if you want.
Pull Requestion Options
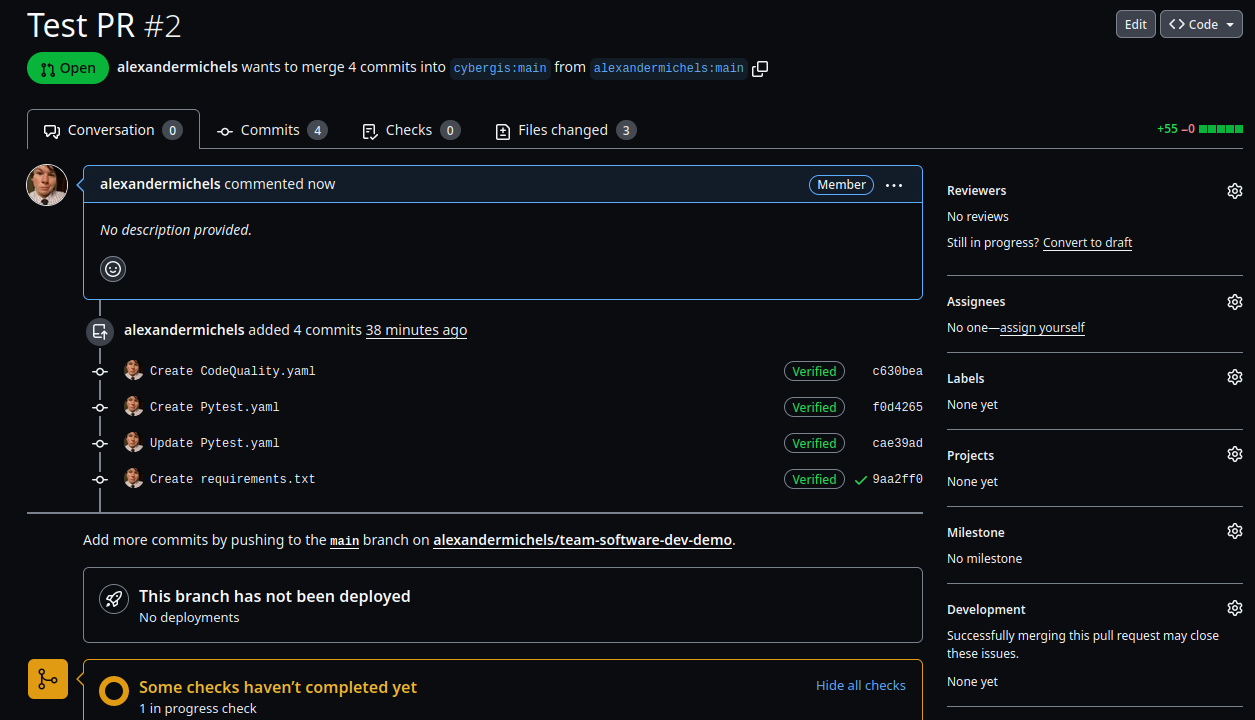
Similar to Issues, you can organize PRs with labels, projects, assignees, etc.

An example Pull Request.
Pull Request Reviews
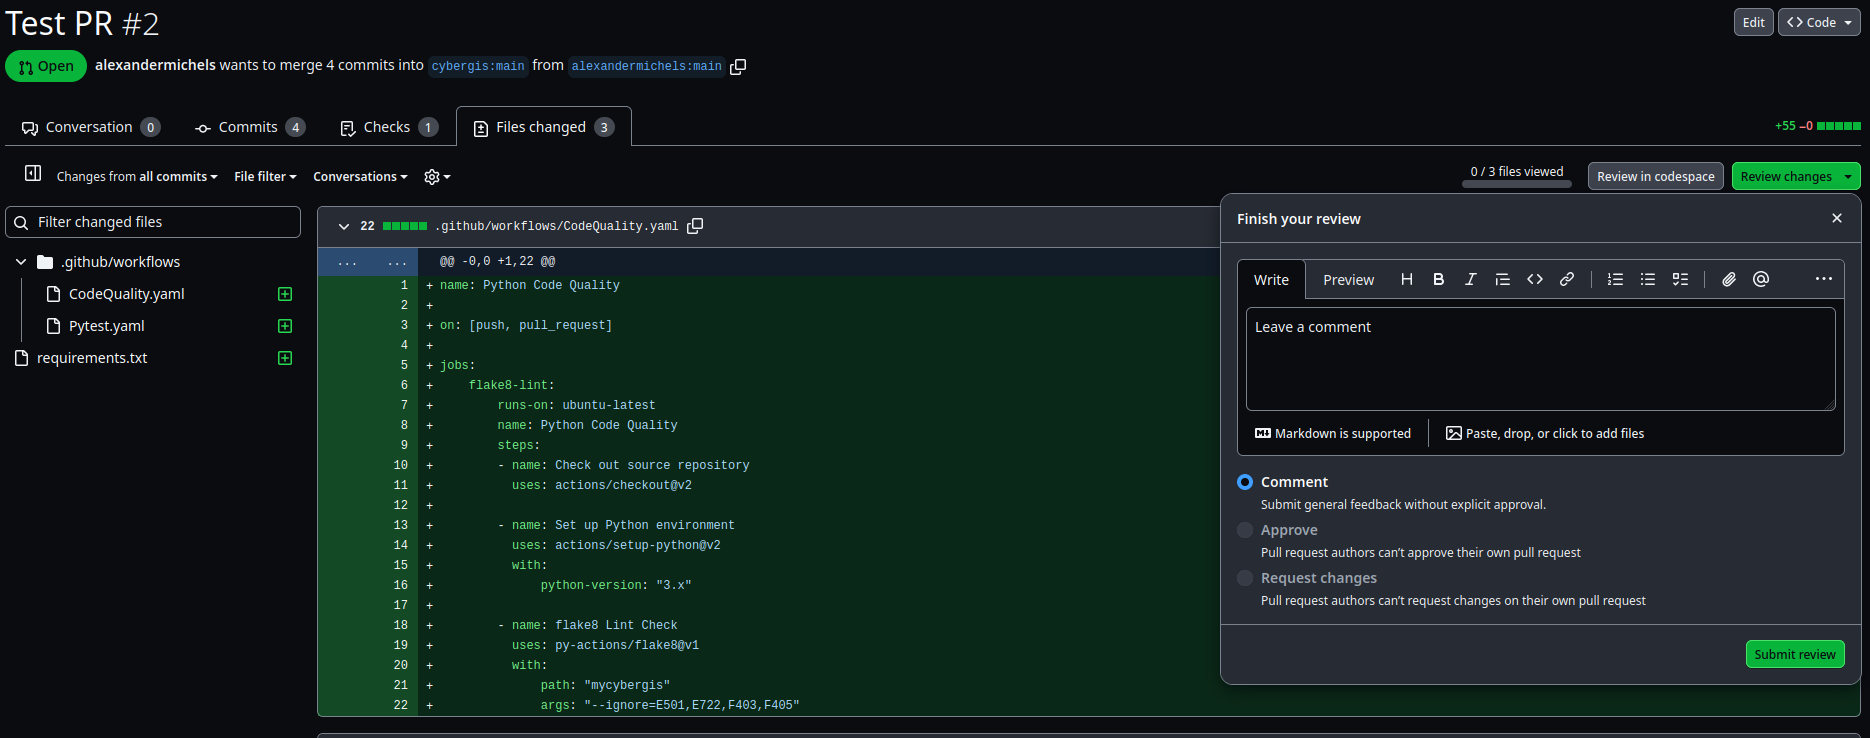
Pull requests also provide a Review feature allowing repository managers to leave detailed feedback on PRs, ask for changes, and approve PRs. You can also add rules to ensure that all PRs must receive Approvals before merging.

An example Pull Request Review interface.
Milestones
In the Issues interface on your repo, click on “Milestones” in the top-right then click “Create a Milestone”.
Create a Milestone. Now we can go back to our Issue and assign the Issue to this Milestone! Pull Requestions can also be added to Milestones to keep track of what needs to be done before a release. The Milestone will track our progress and let us know when we are done!
Projects
Under the Projects tab, create a new Project to explore the various templates and options.